People sometimes ask me if I have a certain number of posts I’m supposed to write in a year. A quota, if you will. I always tell them that if that were the case, you’d probably know because I’d occasionally post something that was clearly a space-filler. A post that didn’t really serve any purpose other than to be a post that counted toward a quota.
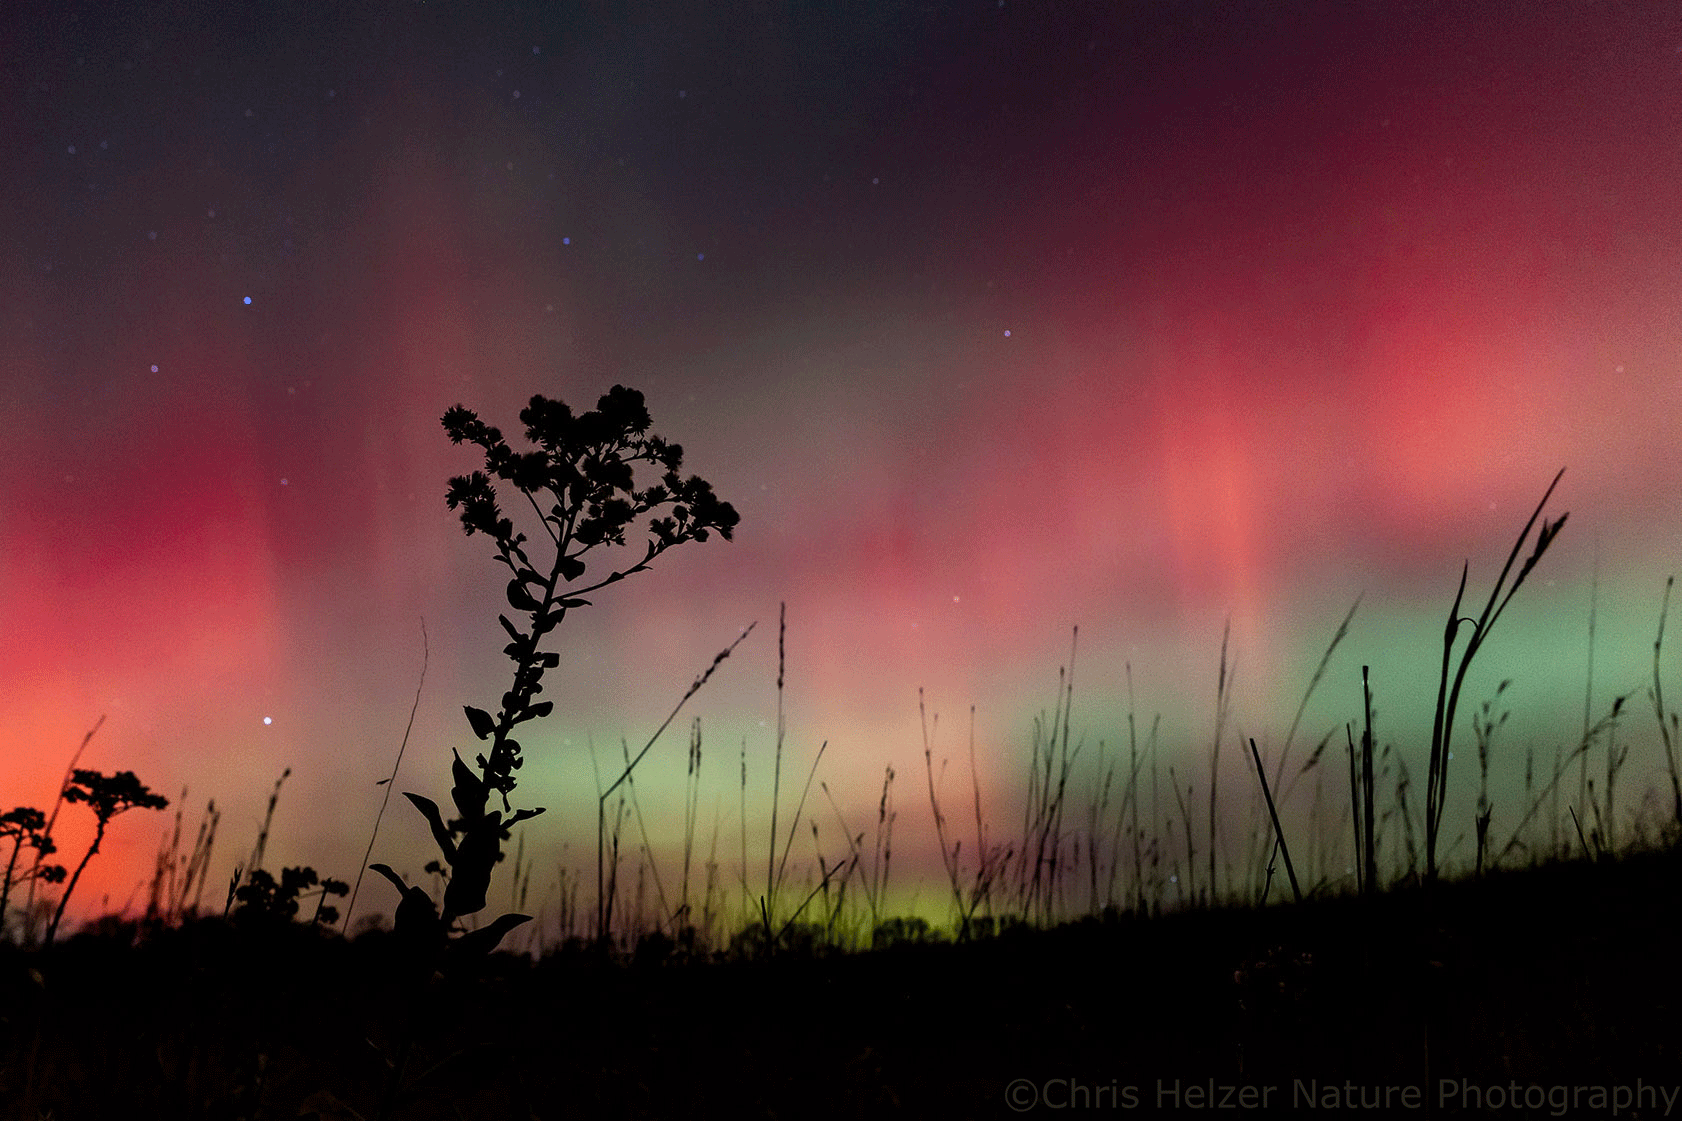
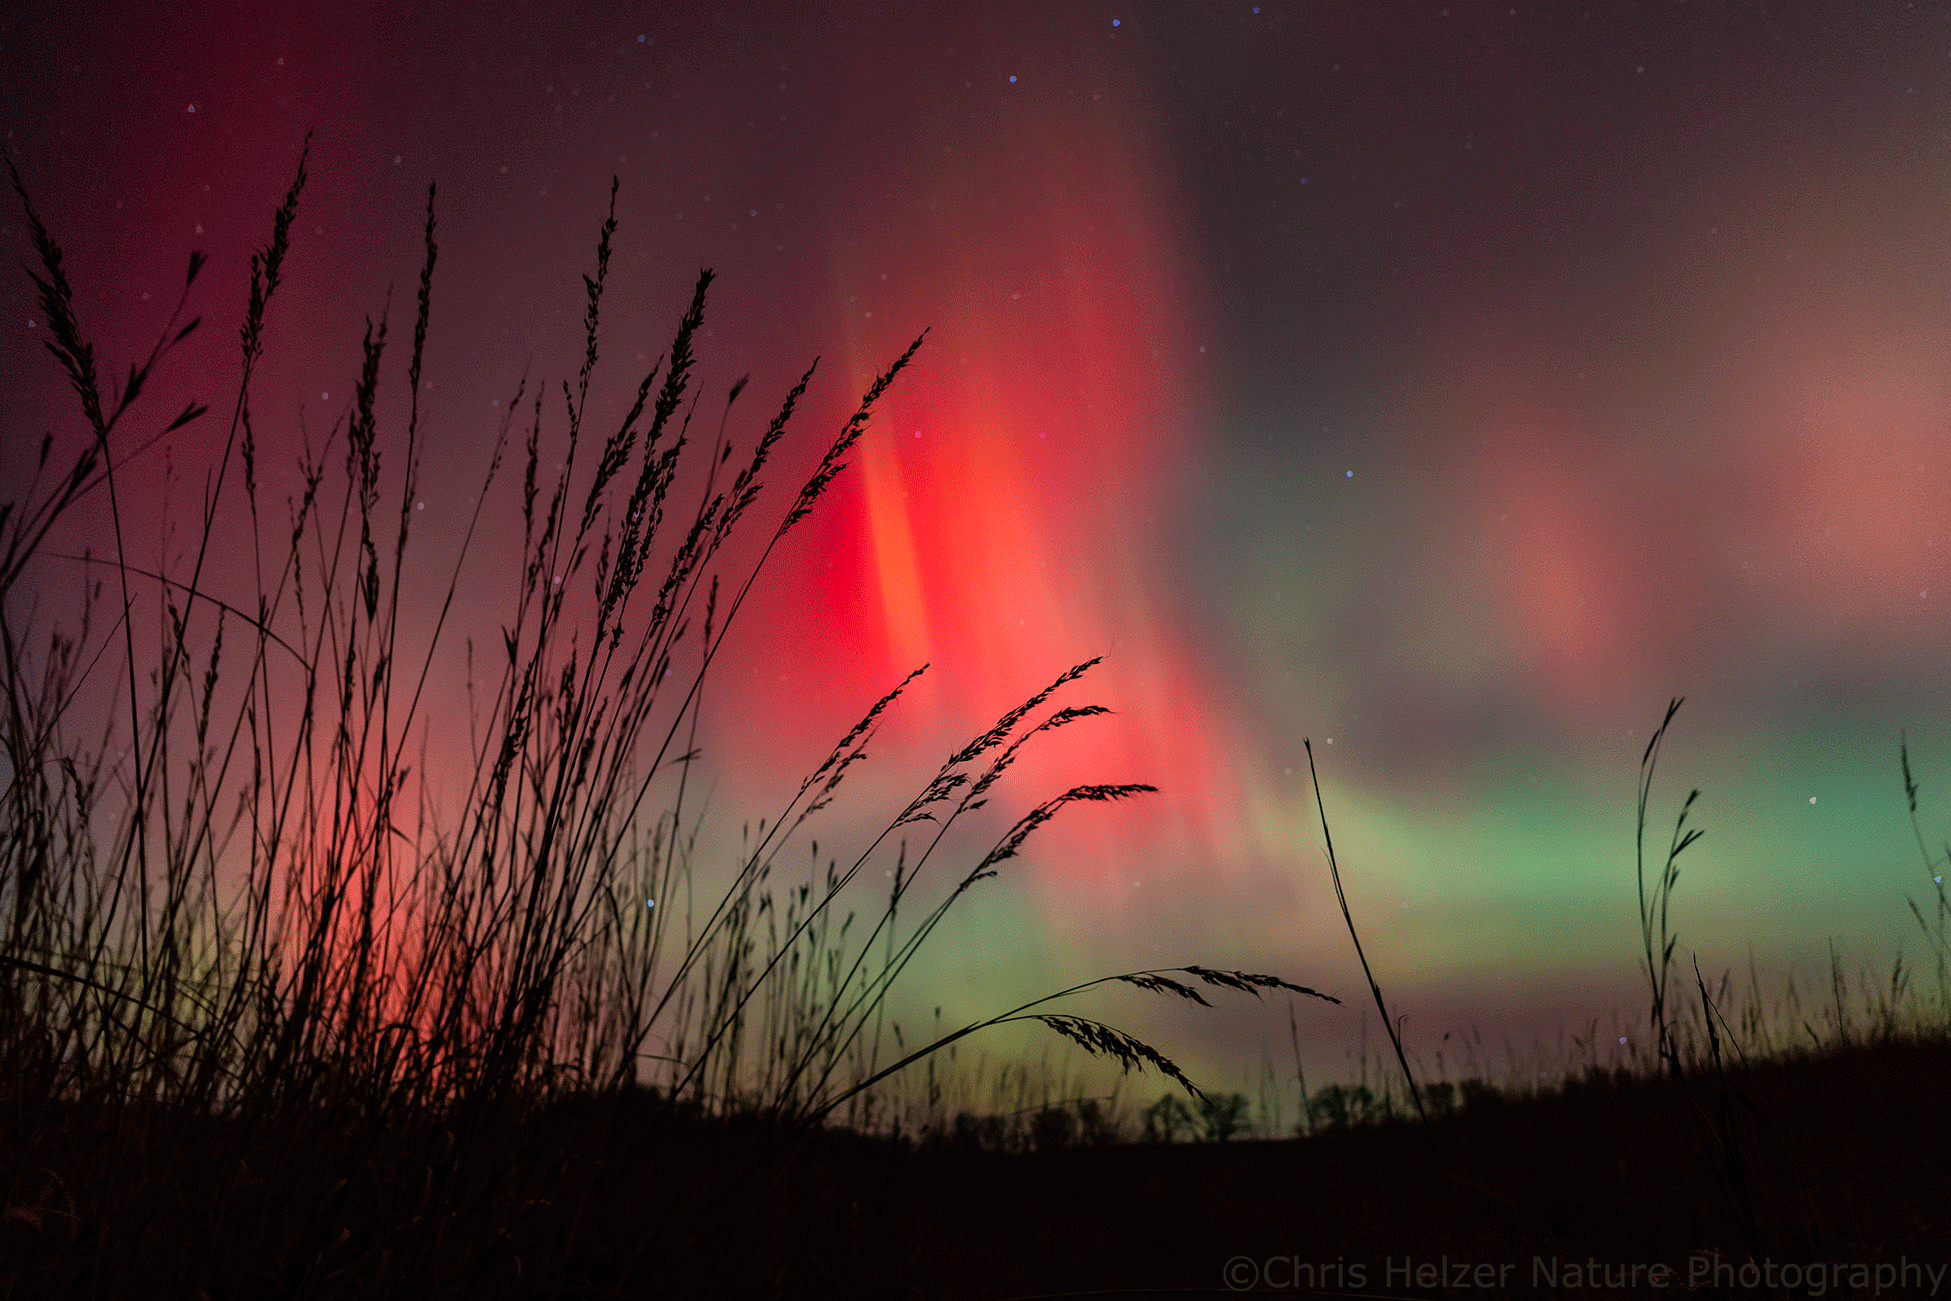
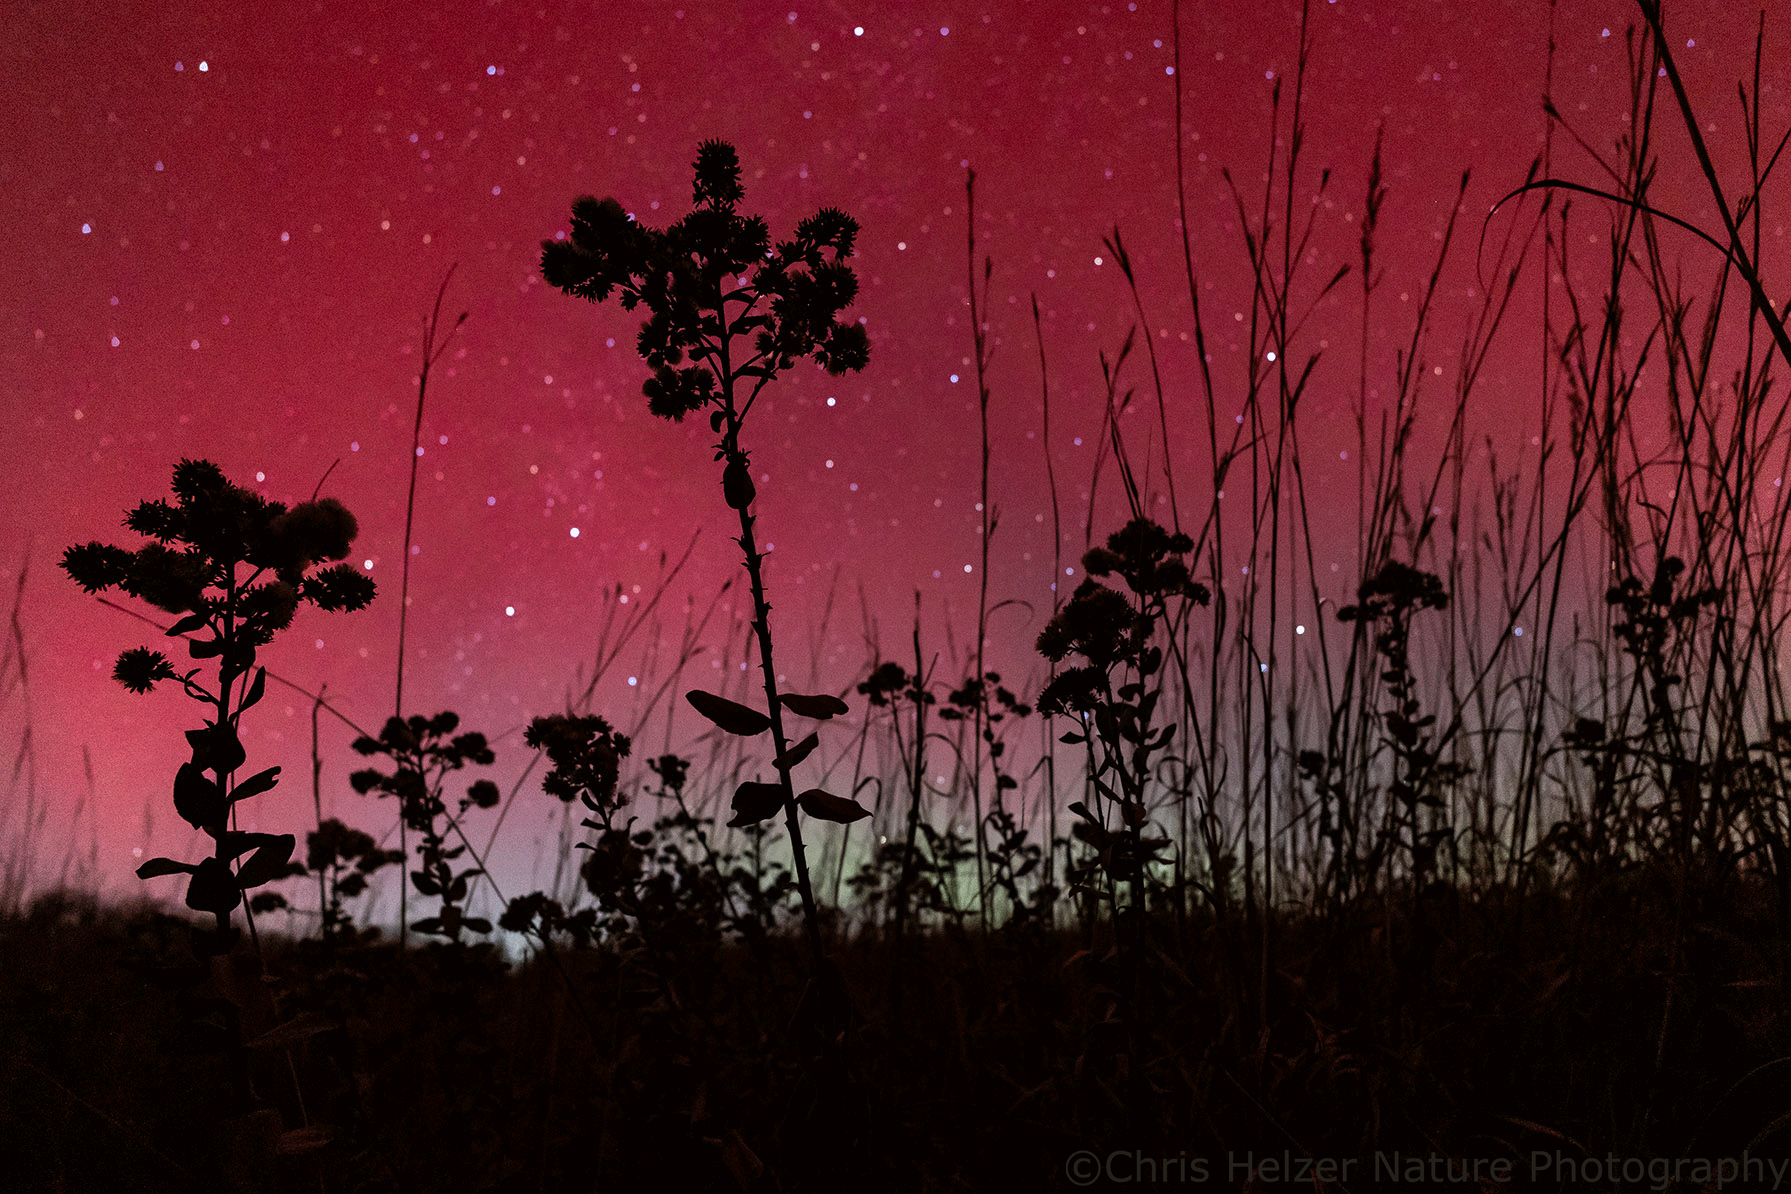
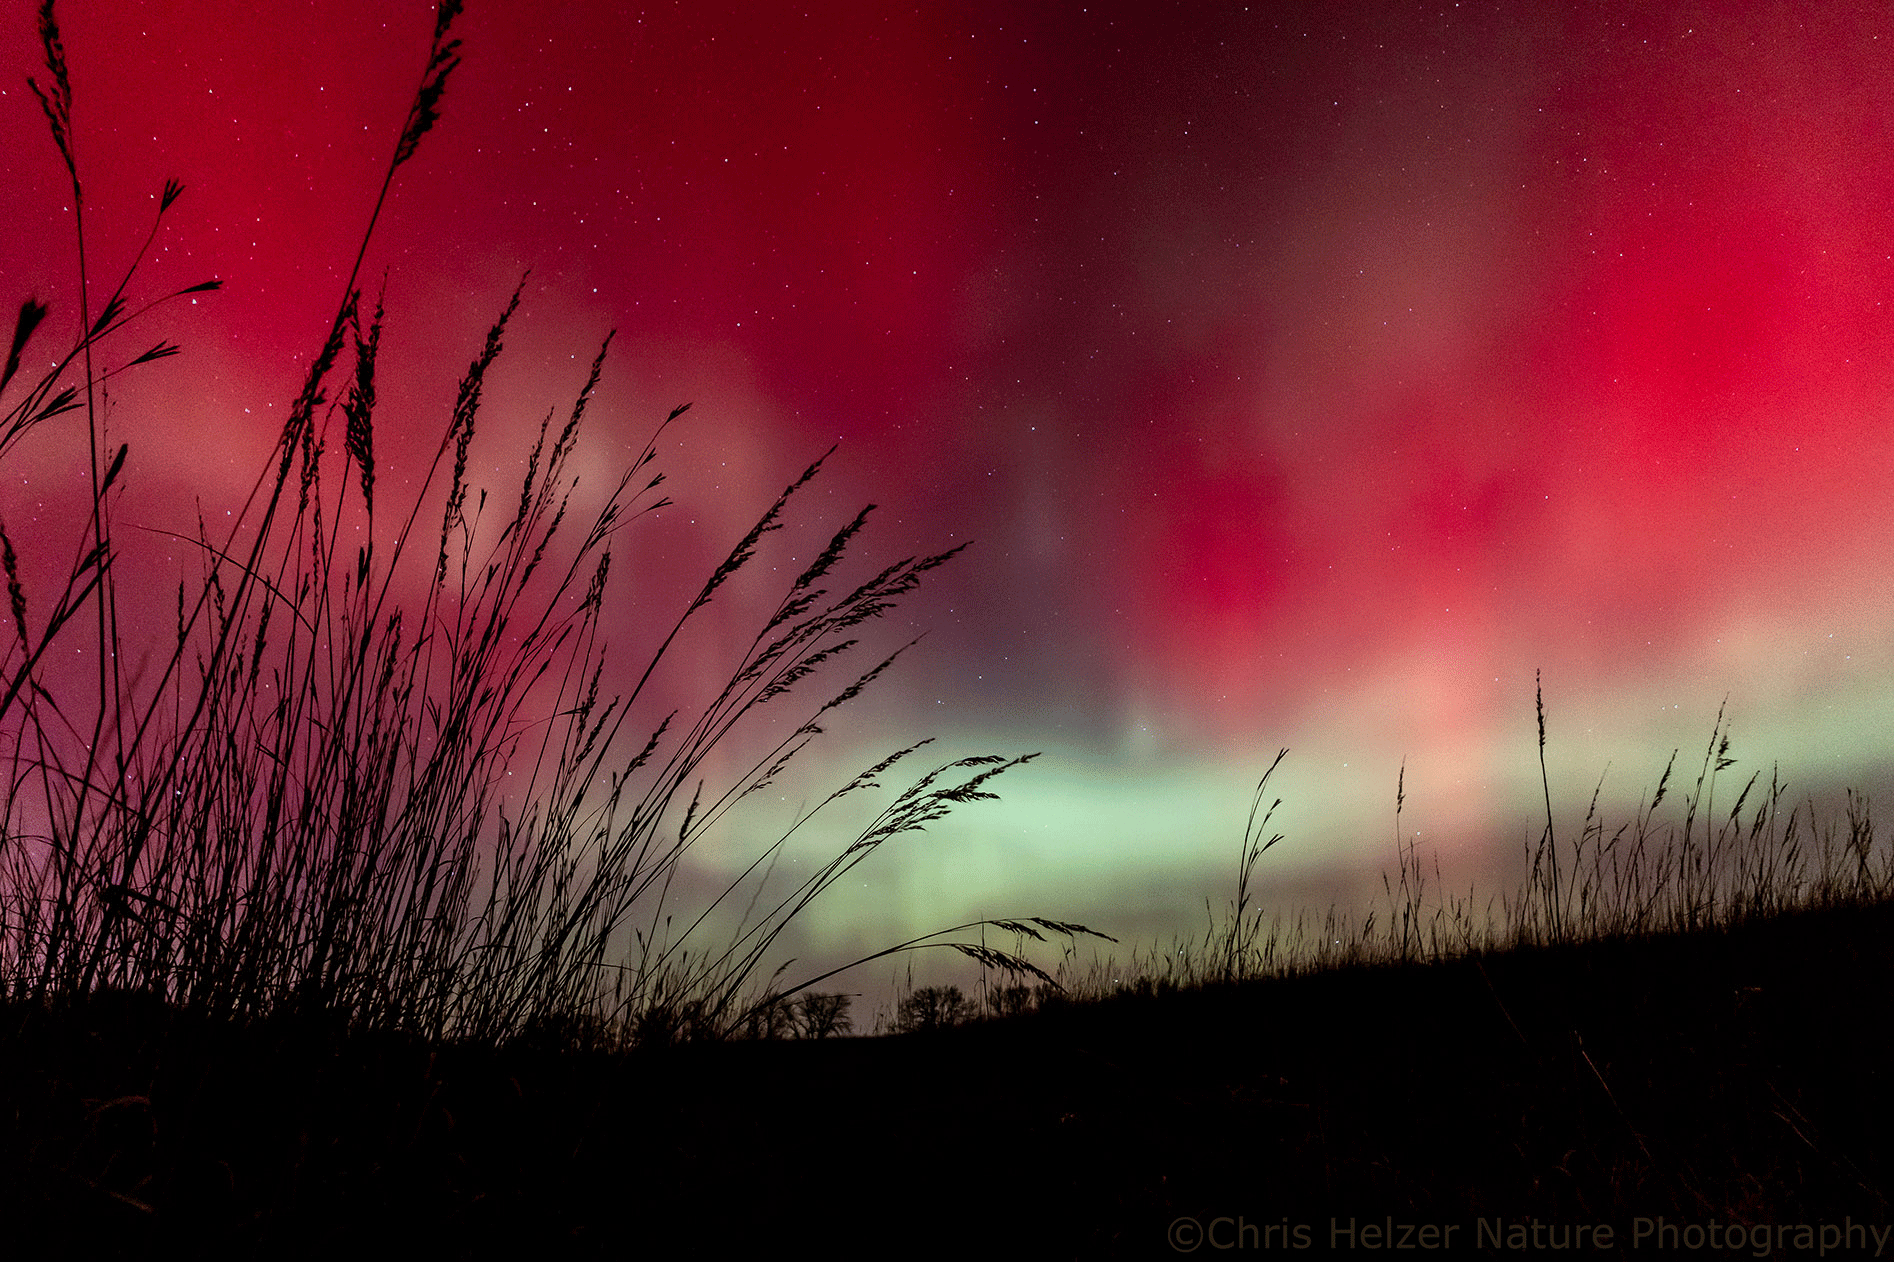
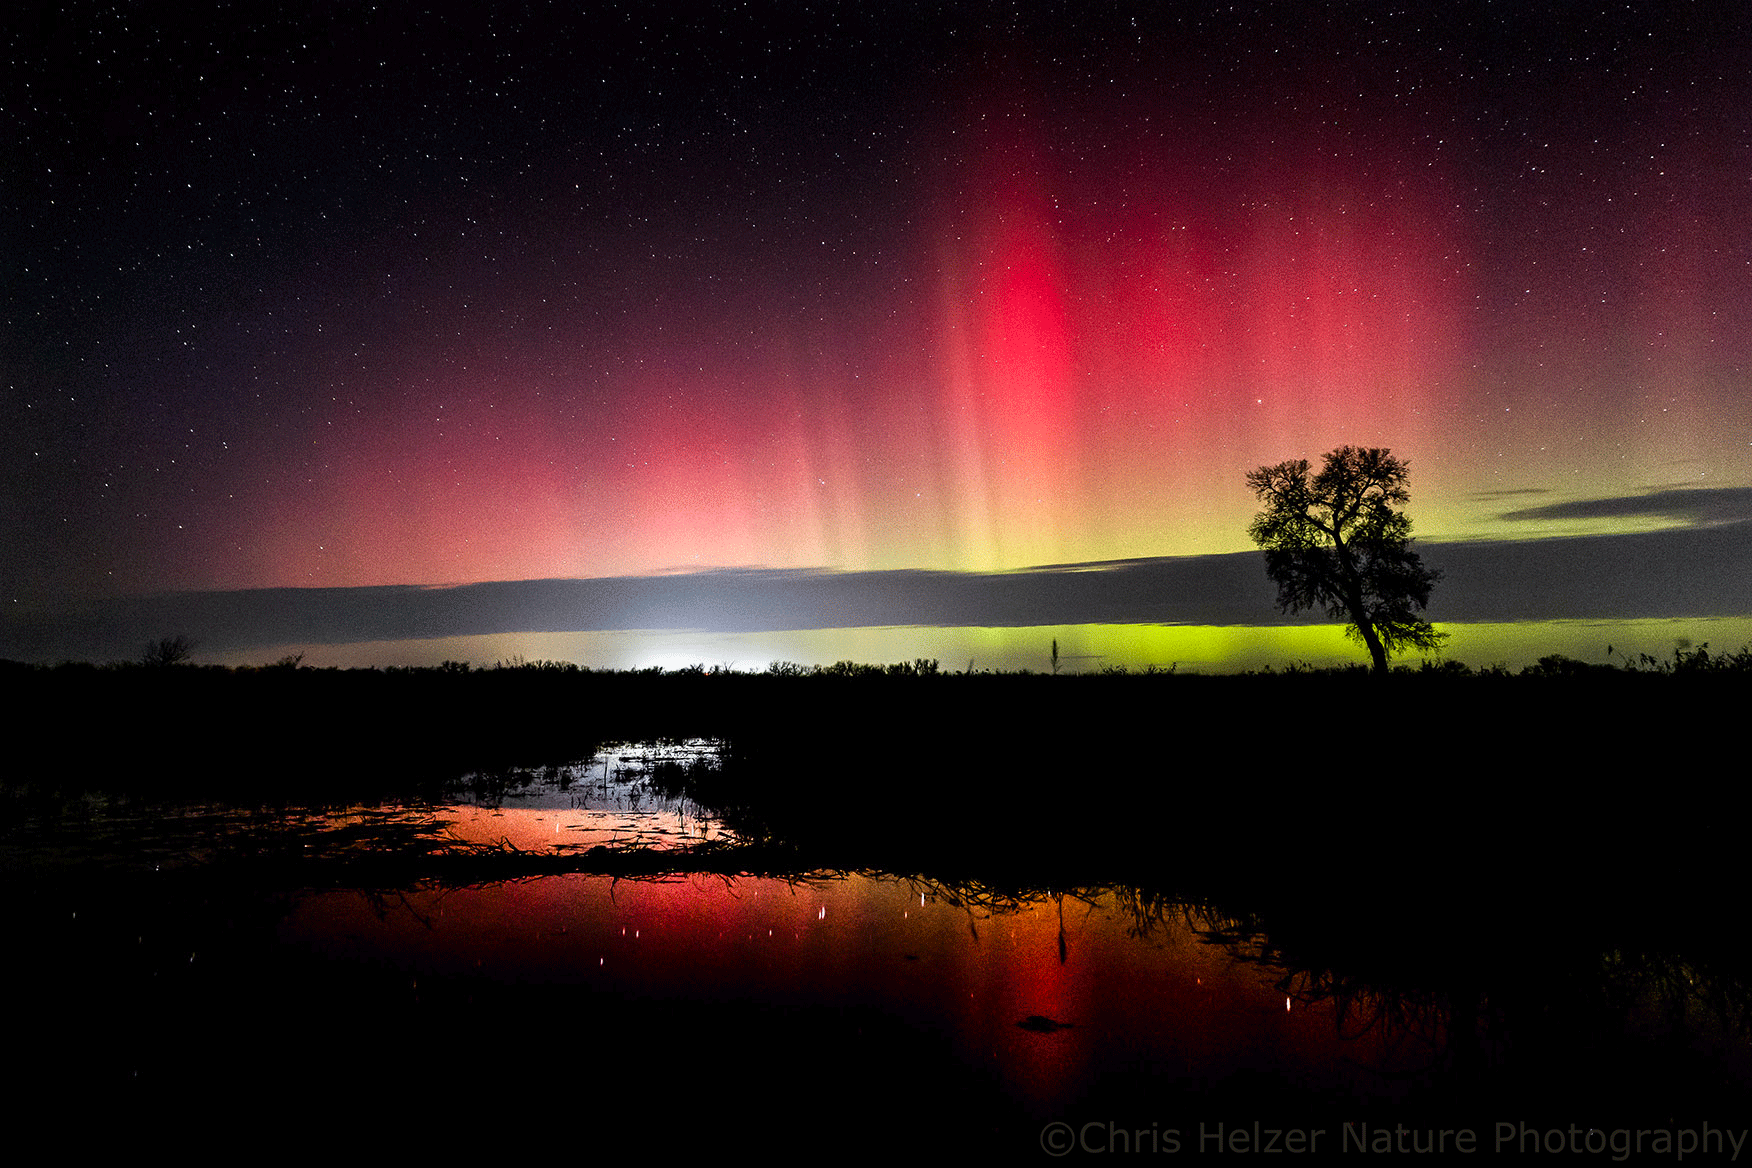
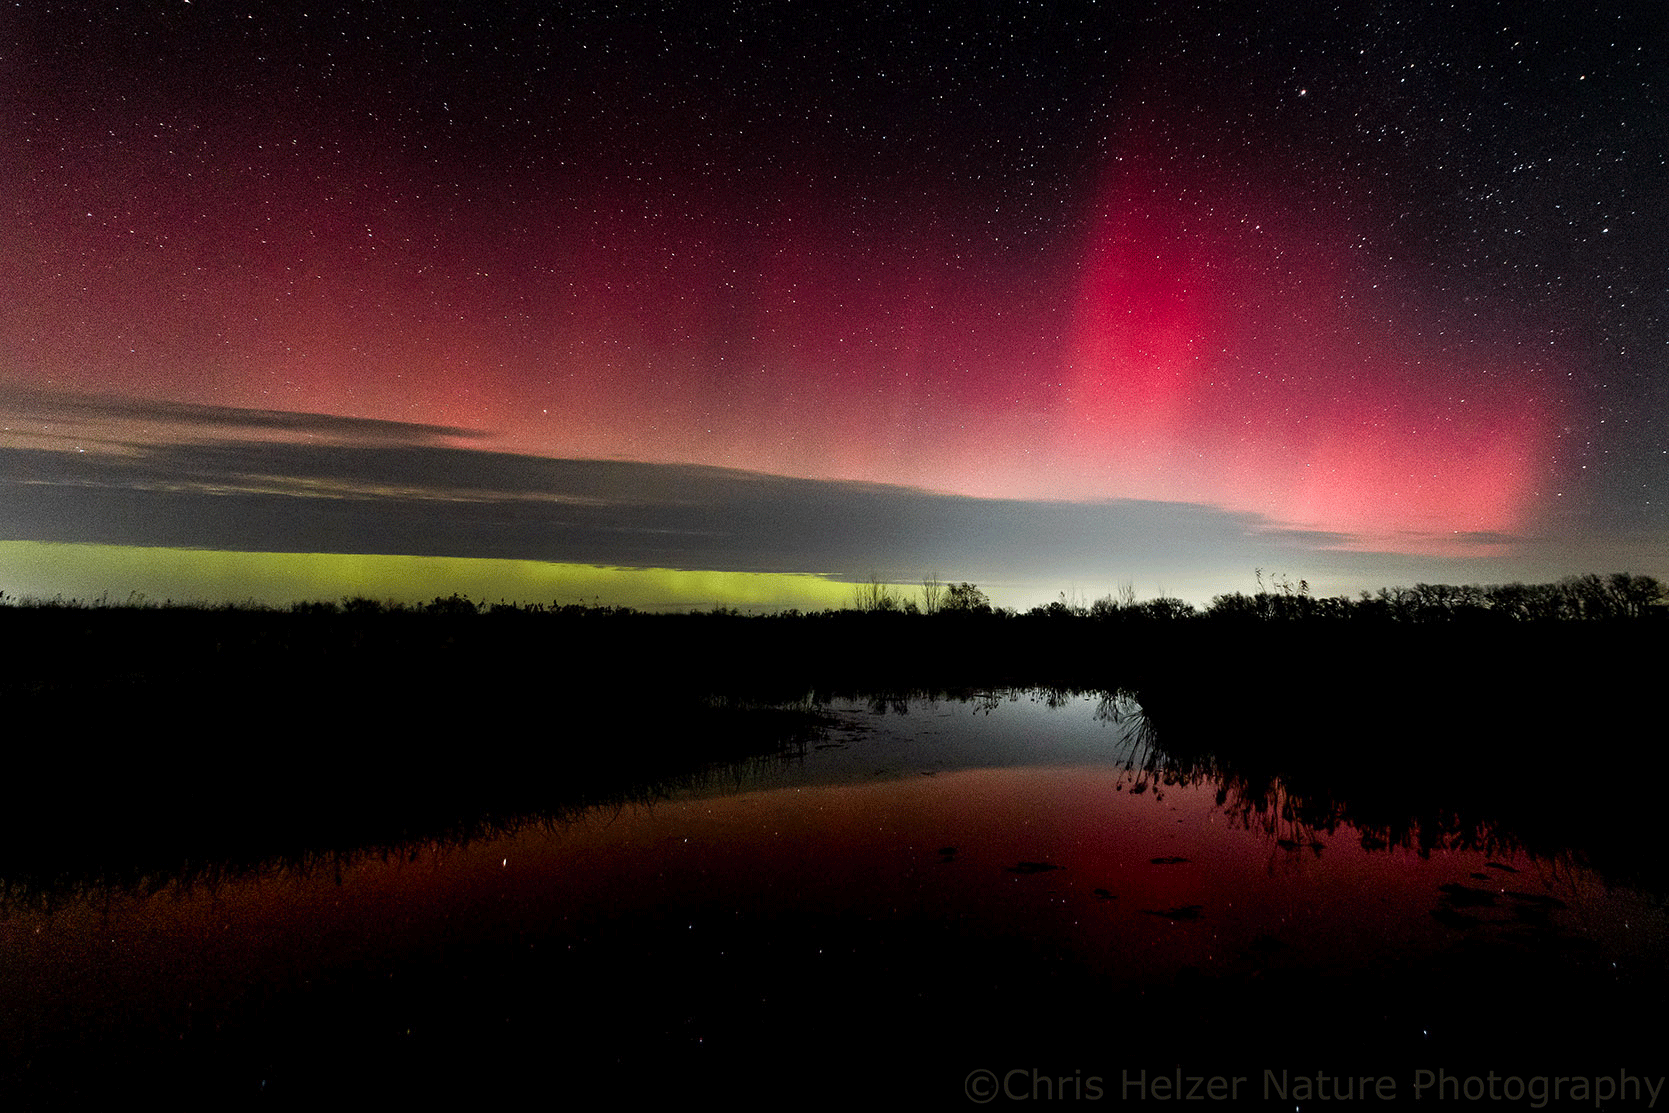
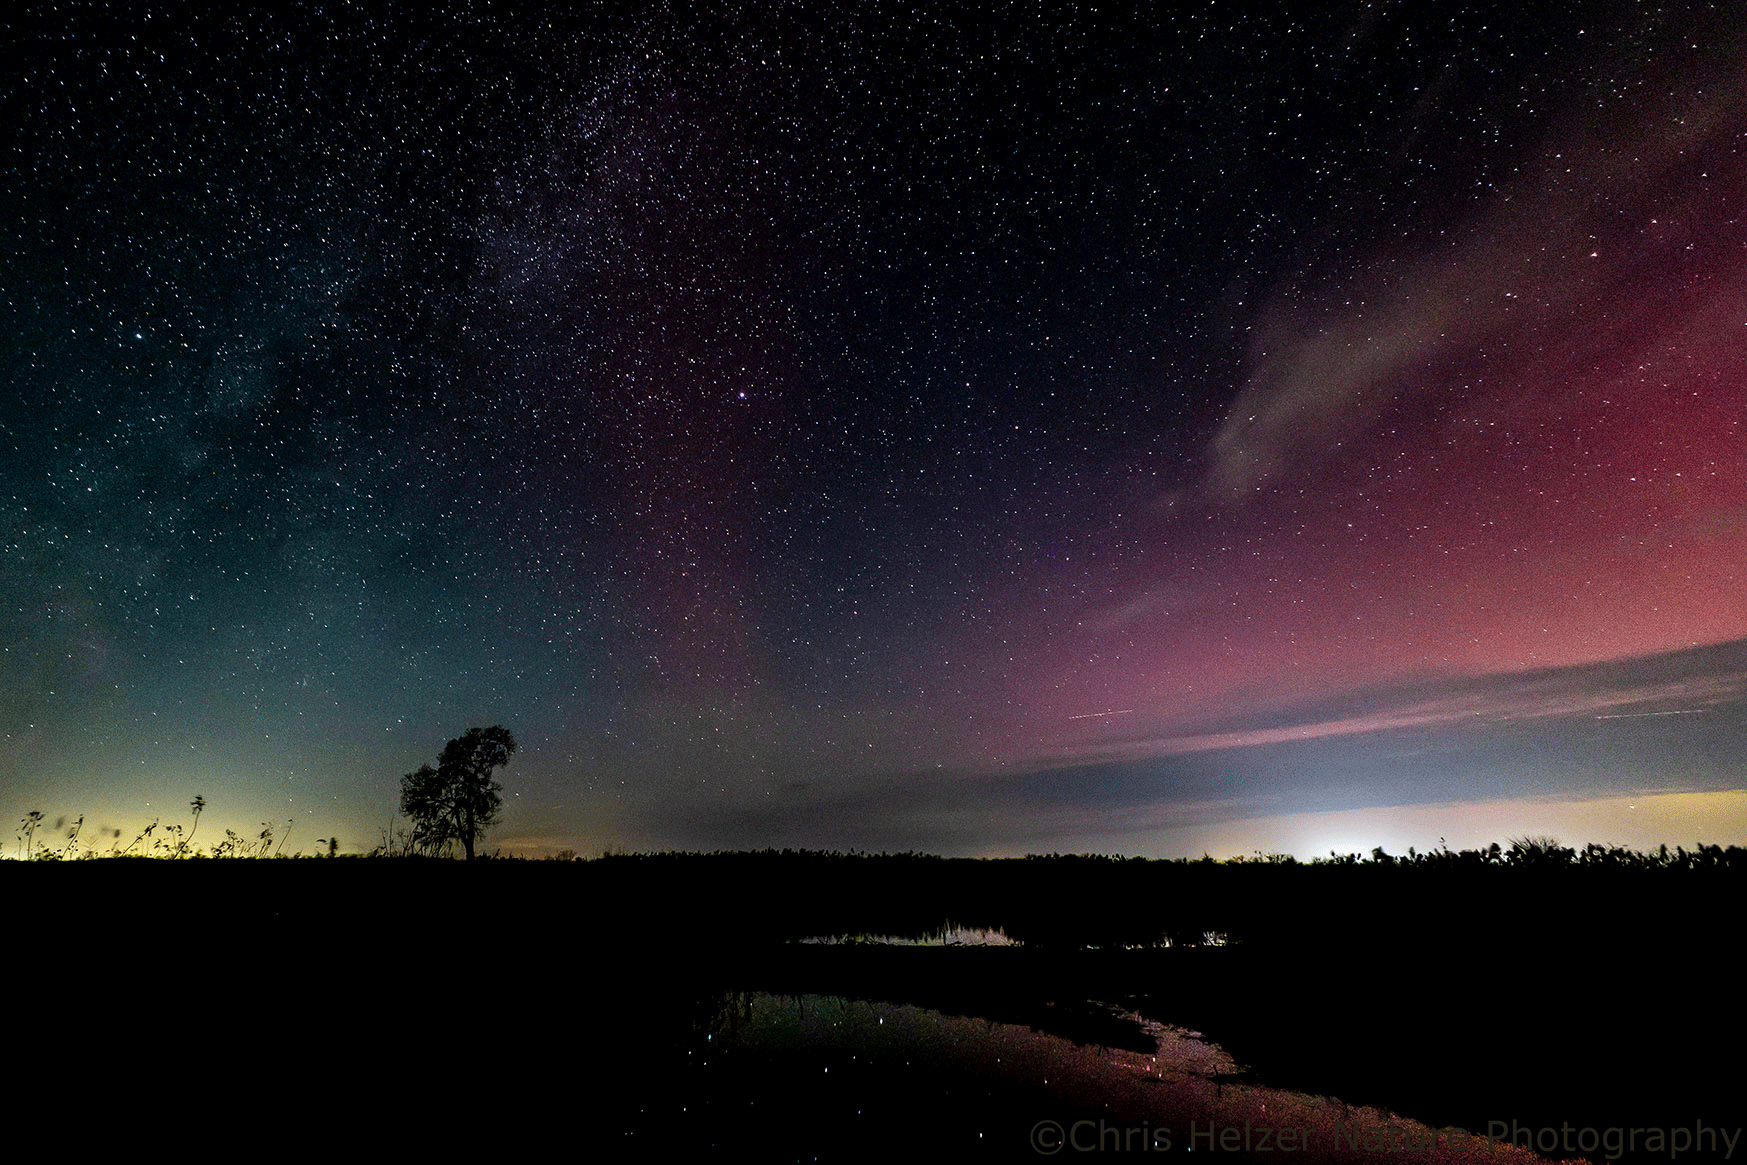
Instead, I hope you’ve noticed that all my posts have a clear purpose. Sometimes, I’m sharing a story of something I’ve seen or learned recently. Other times, I’m trying to synthesize information from my own experiences and/or those of others that I think might be helpful to the kind of people that read this blog. And, of course, sometimes I just share photos that I’ve taken recently with the hope that they’ll help inspire people to appreciate the prairies that I love.
If I was writing on deadline or to fulfill an obligation to produce a certain number of posts each year, I’d probably feel pressure to occasionally put out a post that didn’t really accomplish any of those purposes. A post that seemed thrown together without a coherent or logical flow. As intelligent readers, I think you’d know if that was happening.
Tangentially, I recently heard a comedian talking about writing sketches to entertain themselves, as opposed to writing content they thought would make other people laugh. I, personally, think that’s ludicrous. As an artist or entertainer, I think your first responsibility should be to the audience. Creating something just to make yourself laugh is fine, but you don’t have to share that with the world. I think my kids would agree with that. In fact, I know they would.
Back to the point, I’m always very intentional about the posts I write. I know I have an obligation to many people who follow this blog. I’ve been writing this blog for more than 15 years now (!!) and its continued growth is, at least in part, because I take my responsibility seriously.
By the way, did you know this is a blog? That’s weird, right? That makes me a blogger and you a blog reader. I’m not sure which is more embarrassing. I won’t tell if you won’t.
I think a lot of people have assumed that this is just a newsletter I send out via email. That’s definitely more respectable than a blog, so let’s just go with that. Thank you to everyone for reading my newsletter.

Speaking of different forms of communication, social media continues to be an important way to share content. I have struggled to figure out how to use platforms like Instagram productively (@prairieecologist, if you’re interested). Having said that, I now have more followers on Instagram than I have readers of this, um, newsletter. Maybe it’s time I took social media as seriously as I take my responsibility to provide consistent, useful content here.
Well, I’ve probably given you enough helpful information for one post, so I’ll let you get back to your day now. To be clear, I’m not ending this post just because I’ve just hit 500 words. No one is watching to make sure I hit any minimum word count, just as they’re not counting the number of posts I write in a year. I hope this helps quell any rumors to that effect.